HDRShop has no image editing tools. However, it is possible to edit HDR images using traditional LDR image editors.
First, we need to choose the image editor we wish to use. In the current
version of HDRShop, the only way to change the editor that is launched automatically
is to change the file extension association for .BMP files from within Windows
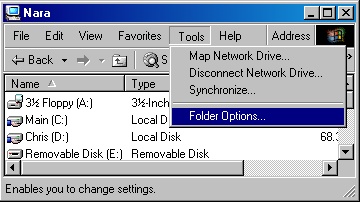
Explorer. To do this, go to an explorer window, and choose 'Folder O
ptions' from the Tools menu.'
A dialog similar to the one below should open. Click on the 'File Types'
tab, and find the 'BMP' extension.
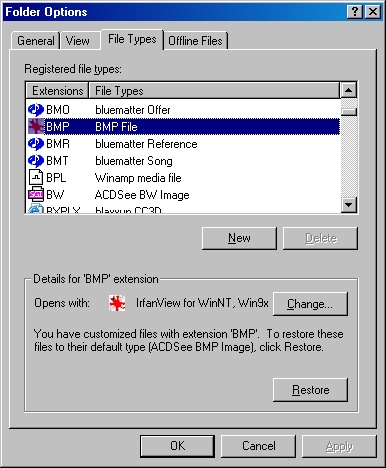
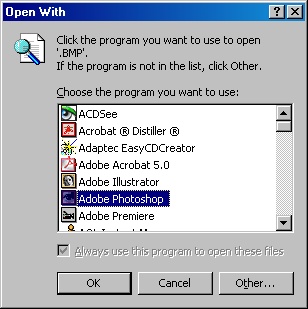
Click the 'Change...' button to change the associated program. Choose
the program you wish to use to edit images in. In this case, we are going
to use Adobe Photoshop.
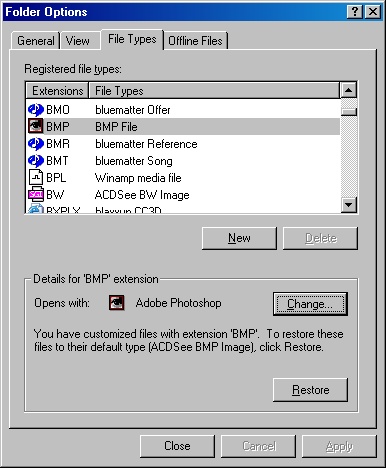
Click 'OK' and the program you chose should now be associated with BMP
files.
Now on to the editing:
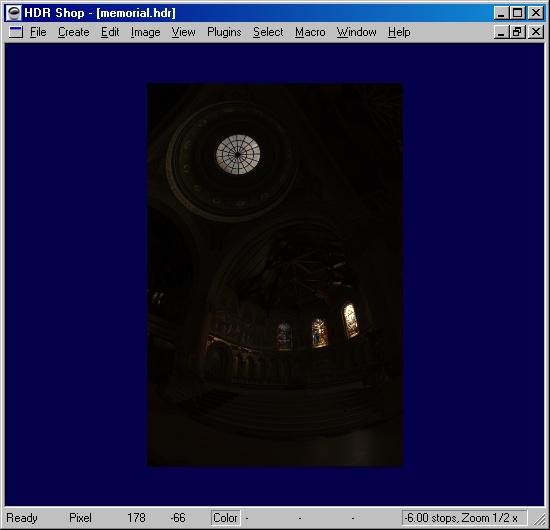
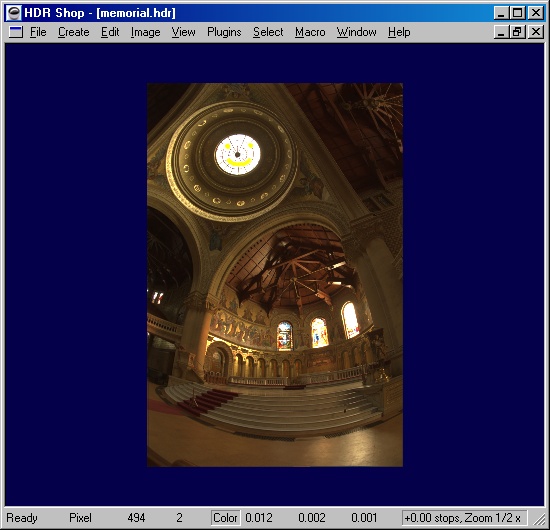
First, load up the HDR image you wish to edit. In this example, I am using
the memorial.hdr
image.

Then, adjust the exposure by hitting '+' and '-' until the region you
wish to edit is visible (that is, not too dark and not too bright). The image
below was darkened six stops so that the ceiling windows are visible, and
can be edited.
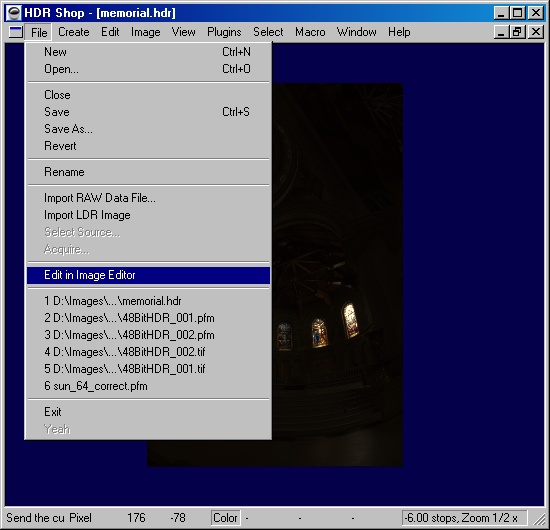
Next, choose 'Edit in Image Editor' from the File menu.
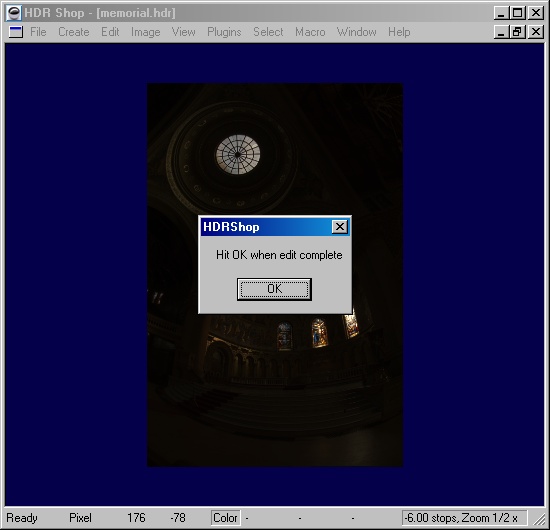
This will write a temporary .BMP image file to the current directory,
and attempt to open it with the default .BMP editor (as defined by windows
explorer). HDRShop will display the message 'Hit OK when edit complete' (as
shown below); do not hit OK until your edit is complete and has been saved
back to the same .BMP file.
Switch to the image editor that should have opened up (Adobe Photoshop
in this case).
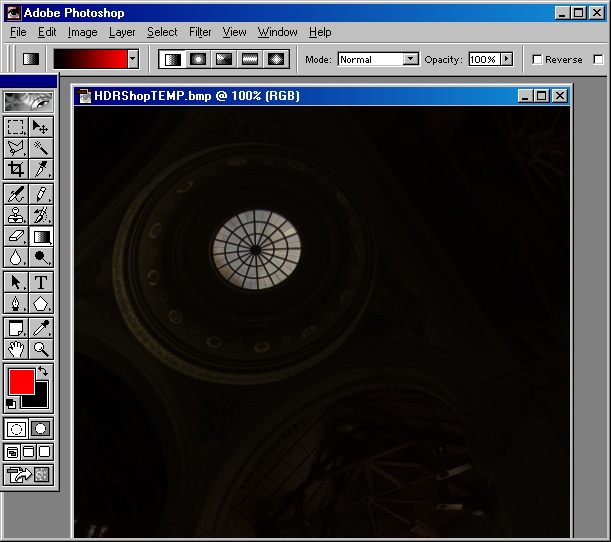
Apply your edits.
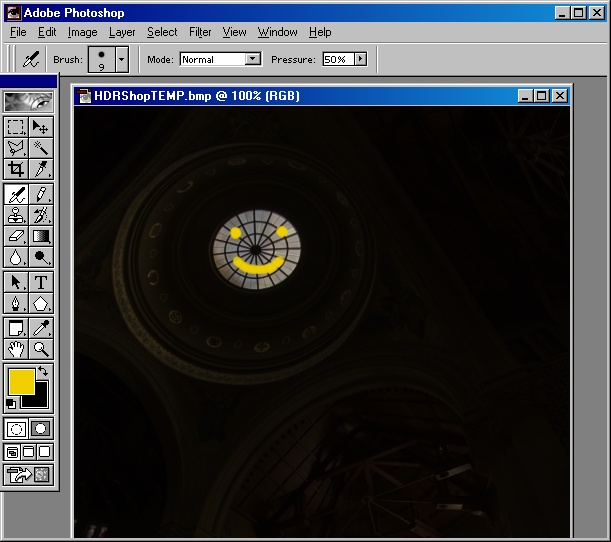
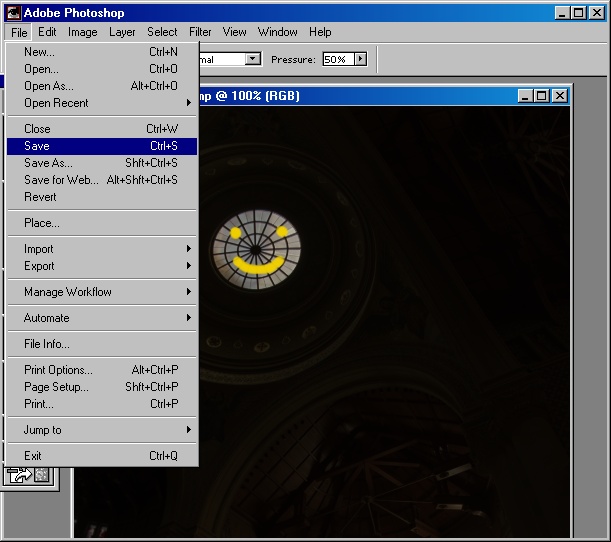
Save the edited LDR image in the same .BMP format (24 bit windows, uncompressed)
At this point we are done with the editor. Return to HDRShop and hit 'OK'
on the dialog box. HDRShop will then load in the edited file and apply the
changes to the HDR image.

HDRShop will only change the pixels that were changed by the LDR editor.
This means that high-dynamic range values will not be modified (unless of
course you painted over them in your edits). In our example, re-exposing
the image back to the original levels, you can see that the detail has been
preserved.
Finally, a hint when painting on HDR images in this fashion: it's good
to keep your RGB colors away from zero. I wouldn't even use anything below
15 (on a 0-255 scale) in any of the color channels. If you need to
paint something darker, go back to HDRShop and re-expose it so it is bright,
and then paint it. Not only does this help eliminate the banding, but it
also helps with the 'realism' of the image by avoiding extremely saturated
colors.
Return to the tutorials